The iron-on method is the most common and secure way to attach an embroidered patch to your garments. All you need is an iron and your embroidery patch.
Here are the simple steps to attach your embroidery patch using this method.
Step 1: Right Embroidery Patch
Ensure that the patch you have chosen is specifically designed for iron-on backing. The patch should have a glue backing on the reverse side. When heat is applied to the patch, it activates the glue backing and bonds it to the fabric it’s placed on.
Step 2: Suitable Garment
Keep in mind that some fabrics, such as leather, polyester, and nylon, are heat-sensitive. Before applying heat, check the care tag on your garment to ensure that it is not sensitive to heat. For materials like leather, we recommend using a sew-on backing instead.
Step 3: Ironing Process
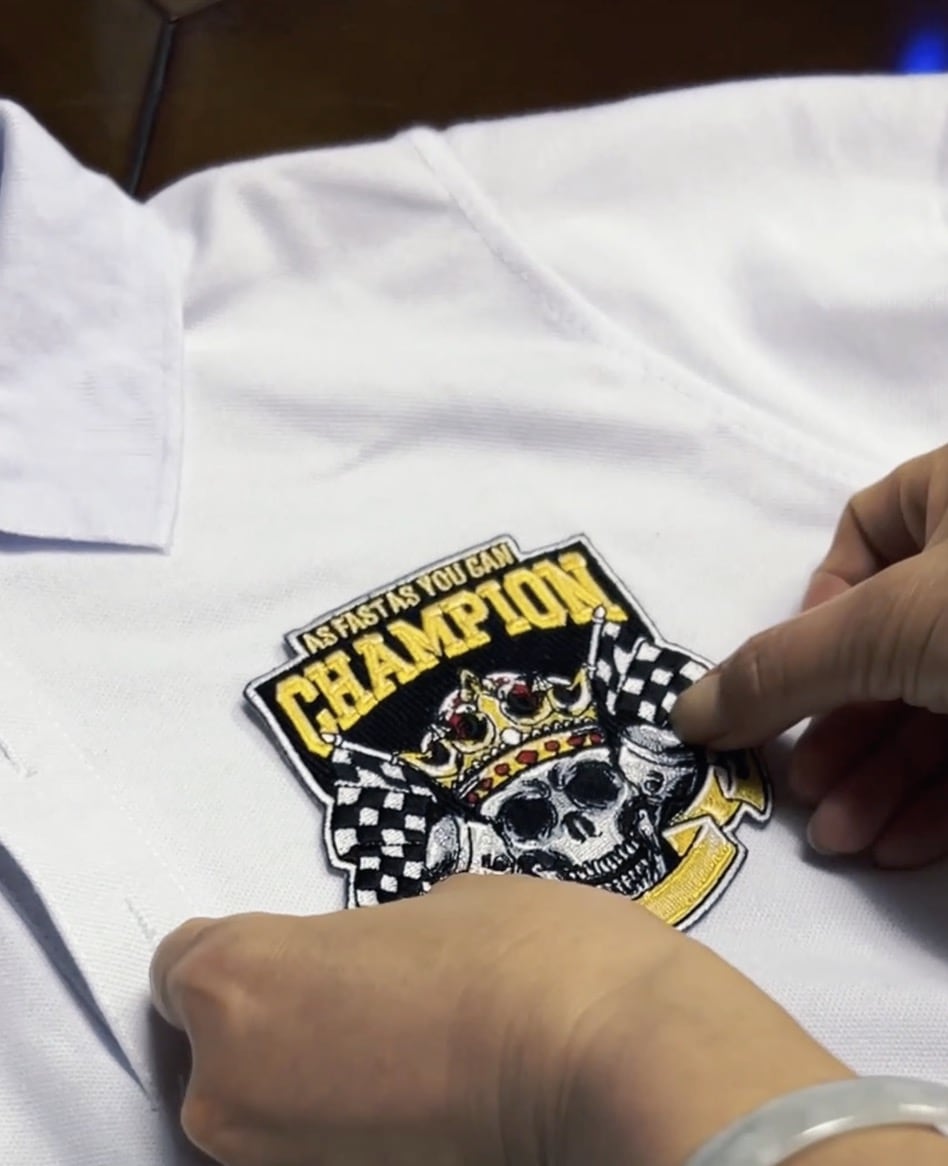
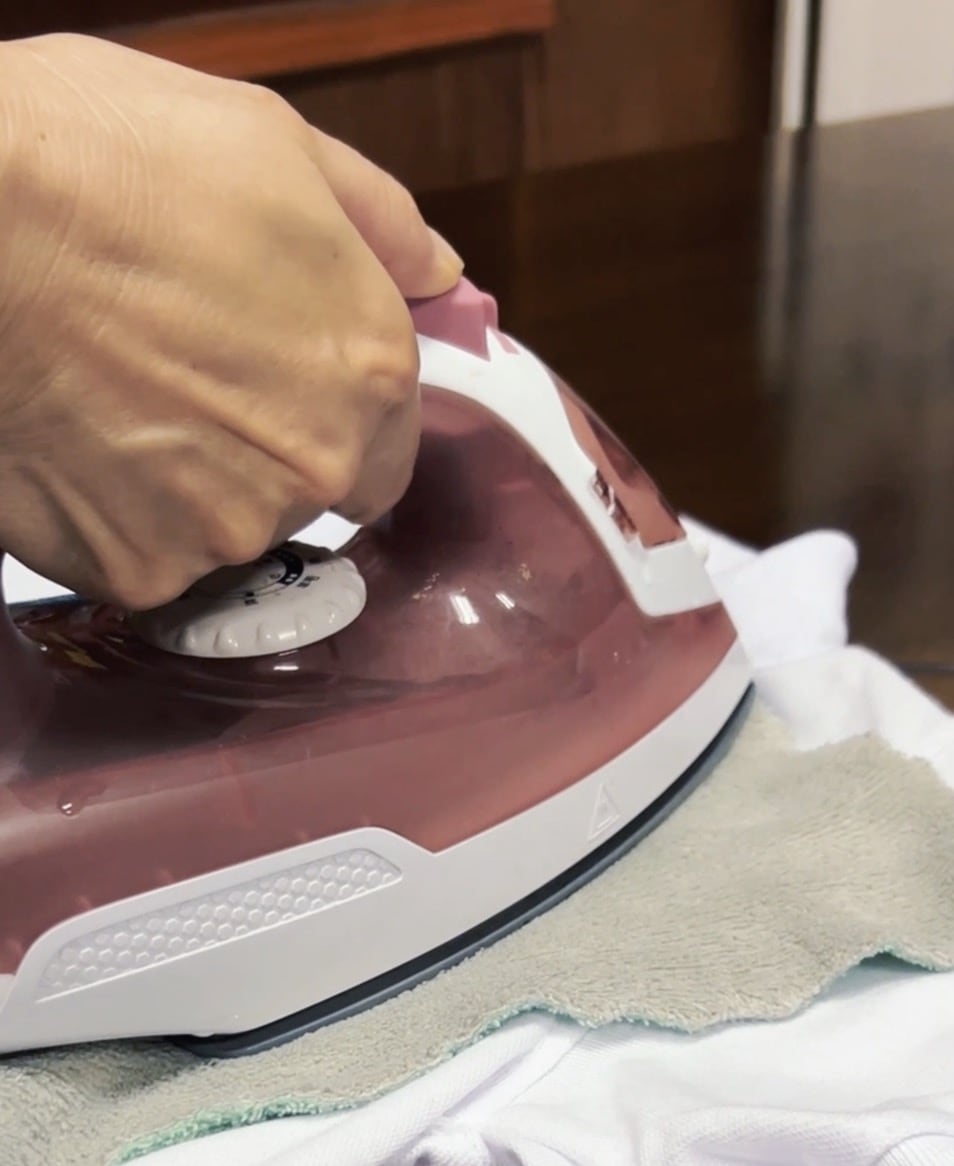
Apply heat to the patch. It’s advisable to place a piece of cotton fabric on top of your patch before you start applying heat. This protective layer prevents direct heat from damaging the threads on the patch. Ensure that you distribute the heat evenly across the patch.
Step 4: Time and Temperature
Dedicate sufficient time to applying heat to the patch until the glue is fully melted and bonds with the fabric. This typically takes around 10 to 15 minutes. If the glue doesn’t fully adhere to the fabric, apply more pressure and increase the iron’s temperature setting.
If the patch isn’t sticking securely to the fabric, there are two main potential reasons. Either the iron isn’t hot enough to melt the glue, or there isn’t enough glue on the backing.
